What to Do With Your Plants After They Arrive: A Simple Care & Planting Guide

You ordered online, the box just landed on your porch, and now you are wondering exactly what to do with your plants after they arrive. Good news: with a little care in the first few days, your new plants will shake off the trip and settle in beautifully. Every order from Carlo’s Plant Farm is hand-grown, carefully packed, and backed by our 30-Day Happy Gardener Guarantee, so follow these simple steps and you will be set up for success.
1. Open the Box Right Away
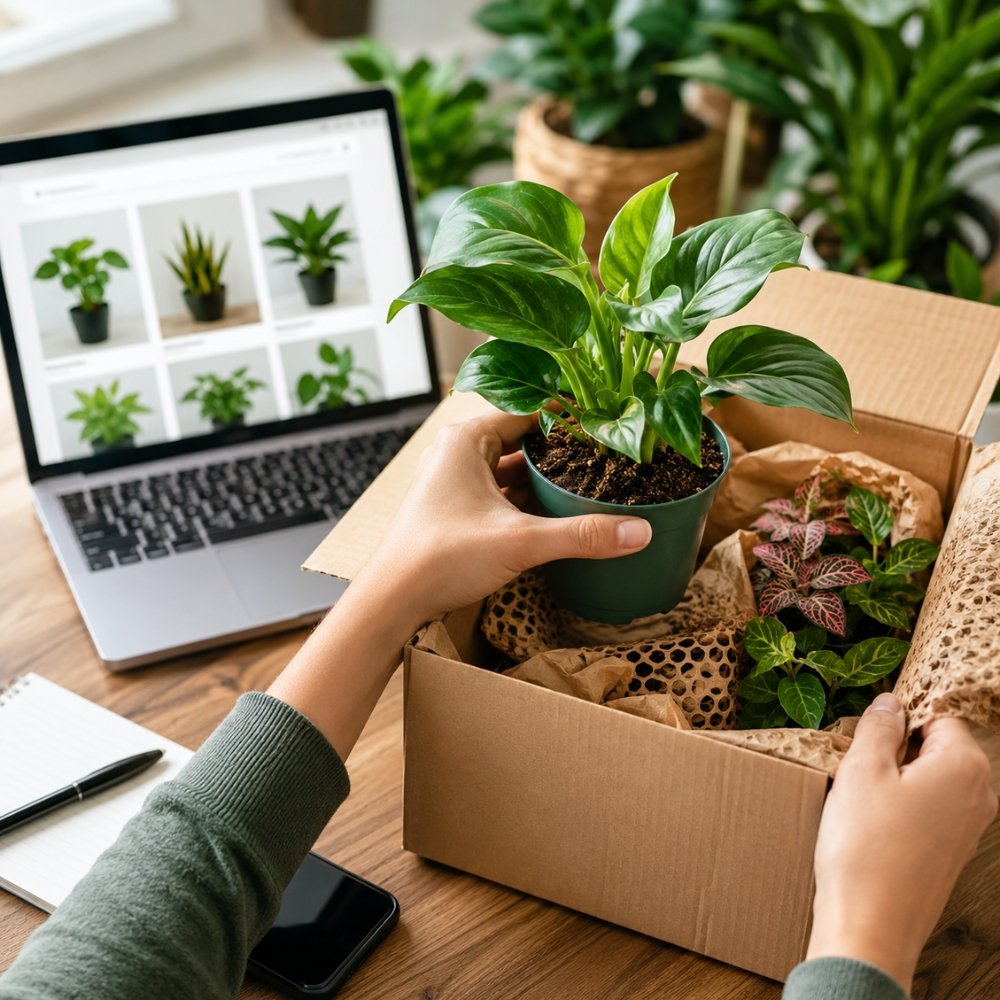
Even if you cannot plant today, unbox your plants as soon as they arrive. They have spent a few days in the dark with no light or fresh air, and the sooner you free them, the faster they bounce back. Gently remove the packing material, paper, and any ties, then set each plant upright in a bright, sheltered spot out of direct sun.
Take a moment to look them over. A little wilting, a few yellow leaves, or some leaf drop is completely normal after shipping — it is temporary transit stress, not damage, and your plant will recover within a week or two. If anything looks genuinely damaged, snap a quick photo and contact us before doing anything else, so we can make it right under our guarantee.
2. Give Them a Drink
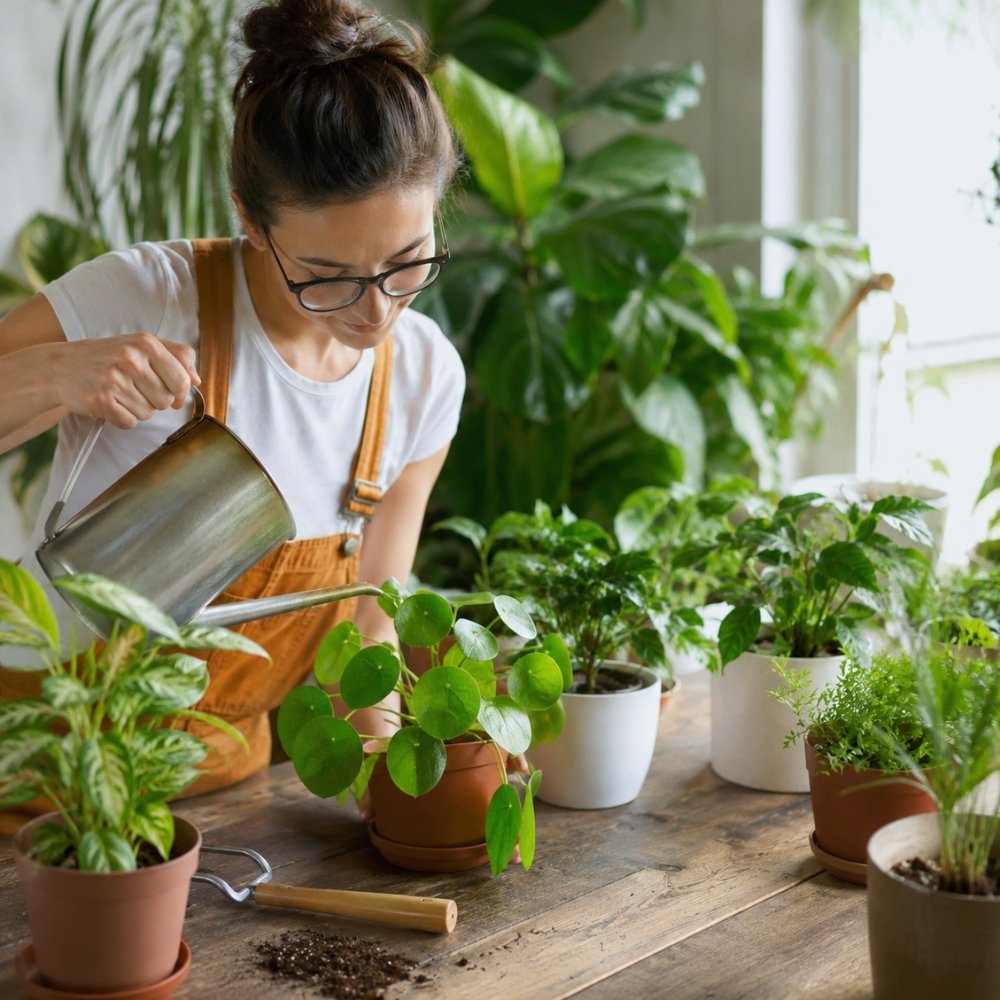
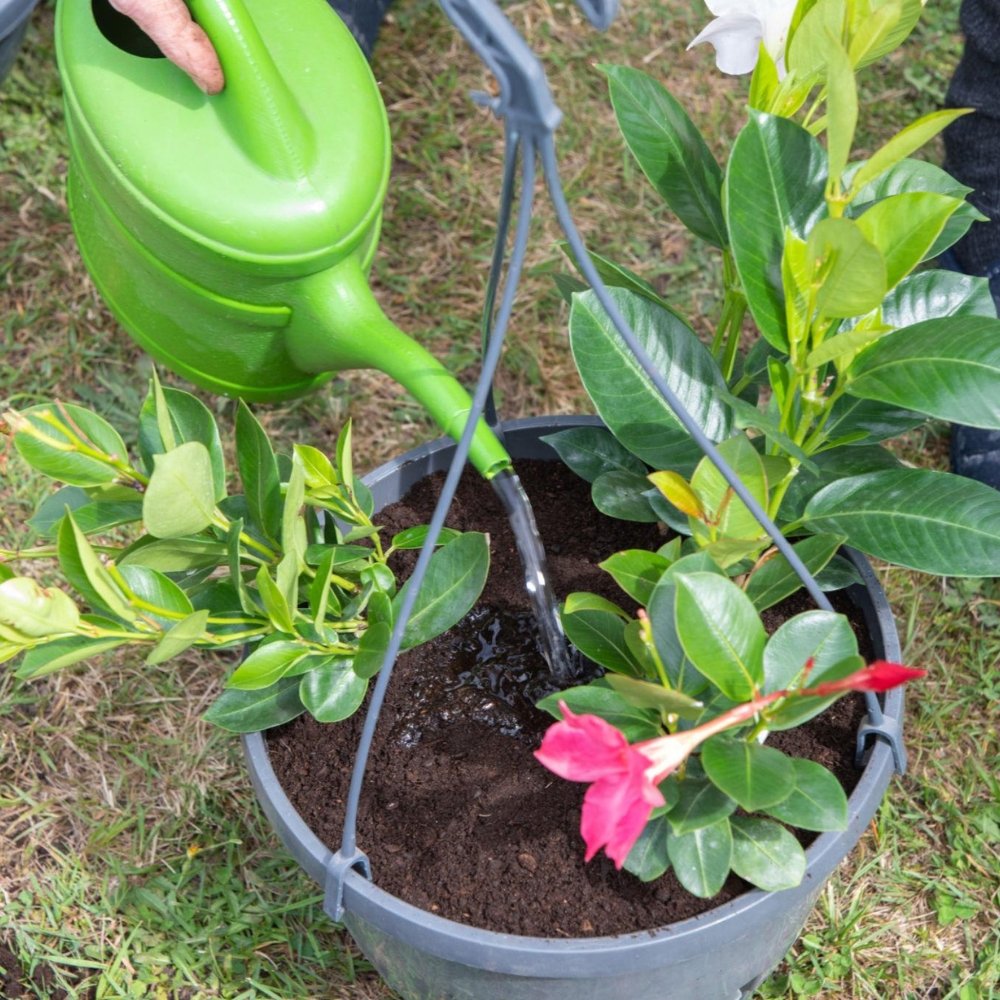
Shipping is thirsty work. Check the soil with your finger — if it feels dry, water each plant thoroughly until the soil is evenly moist, then let the excess drain away. If the soil is already damp, leave it be; overwatering a stressed plant is just as risky as letting it dry out, and soggy roots can lead to rot.
3. Let Them Acclimate Before Full Sun
This is the step most people skip — and the one that matters most. Your plants have been in a dark box, so moving them straight into blazing full sun can scorch the leaves. Instead, harden them off gradually: start in a shaded or partly shaded spot for a couple of days, then give them a little more sun each day over about a week until they are used to their permanent location. A few days of patience here prevents a lot of leaf burn later.
4. How to Plant Your New Arrivals
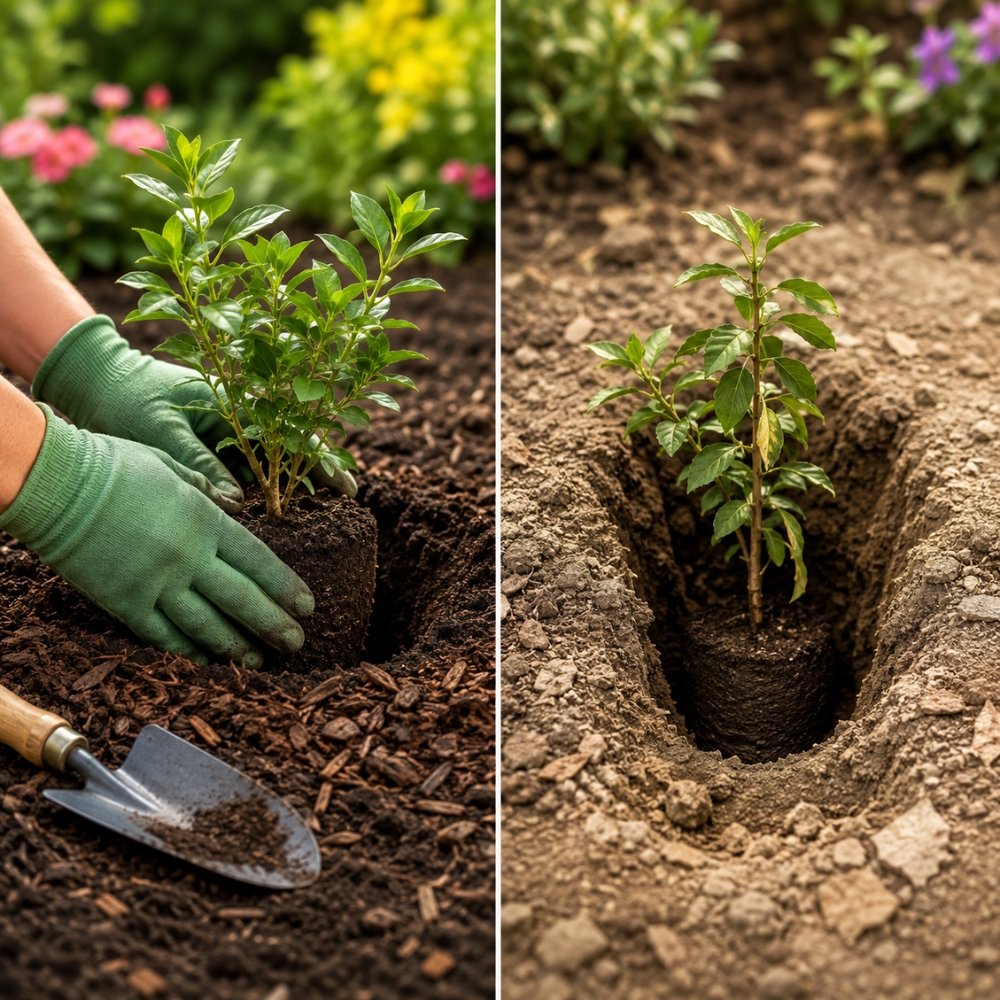
Once your plants have settled for a few days, it is time to get them in the ground. Aim to plant within a week of arrival rather than leaving them in their pots too long. Here is our tried-and-true method:
- Loosen the soil. Dig out and break up the earth where you will be planting.
- Check the drainage. Pour water into the hole and watch how fast it drains. If water sits for a long time, mix in material to improve drainage before planting.
- Amend the soil. Blend pine-bark potting soil into your native soil and form a small mound — this gives roots loose, well-draining footing to grow into.
- Set the depth right. Place the plant so the top of the root ball sits even with the surrounding soil. Planting too deep is a common cause of trouble.
- Space for the future. Give each plant room to reach its mature size — check the spacing on its product page so a small starter today does not crowd later.
- Backfill, water, and mulch. Firm the soil gently around the roots, water it in well, then add a 2–3 inch layer of mulch (kept a couple inches off the stem) to lock in moisture.
5. Watering & Feeding for the First Few Weeks
New plants need consistent moisture while their roots establish. Water daily for the first two weeks (unless the soil is already wet), then ease back to about once a week, watering deeply each time. Hold off on heavy fertilizer at first — a stressed plant cannot use it, and too much can burn tender new roots. Once your plants show fresh growth, a slow-release fertilizer mixed lightly into the soil is all they need to thrive.
6. Be Patient — A Little Transplant Shock Is Normal
Do not panic if your plant sulks for a week or two. Drooping or a few dropped leaves is simply transplant shock, and most plants perk right up within 7–14 days once their roots take hold. Keep up the steady watering, give them their proper light, and let them do their thing. For more region-specific planting and establishment advice, the University of Florida IFAS Gardening Solutions is an excellent free resource.
Set Yourself Up for Success: Plant for Your Zone
The single best thing you can do for long-term success is to plant varieties suited to your climate. Not sure what thrives where you live? Look up your region on the USDA Plant Hardiness Zone Map, then shop our collection by zone so every plant you order is matched to your winters. Browse Zone 8 plants, Zone 9 plants, or find your own zone in our shop.
Ready to Grow Your Garden?
Now that you know exactly what to do when your plants arrive, the hard part is just choosing what to plant next. Explore our flowering plants, shrubs & bushes, trees, and groundcovers — or start with our best sellers. Every order is hand-grown in Florida, ships free, and arrives ready to thrive, backed by our 30-Day Happy Gardener Guarantee. Bring nature home, one plant at a time.